

See, I told ya I'd do a couple halloween tutorials. Heres the first! A halloween crown. There are great to put around the base of your halloween tree... if you have one.. and they can be made any size you like. Im thinking that one of my skeletons may wear this one this year. or a bear.. I dont know yet. I really only made it so that I could show you guys how because Lynn at the weinnee ranch asked me how! So here you go:
First gather up all your supplies.. what ever goodies you want to use for your crown, bits and bobs. pictures and stickers.. trims and treats... etc! YOu'll need 2 coordinating pieces of heavy scrapbook paper and a wide ribbon. Hot glue and I always use fabri tac glue.

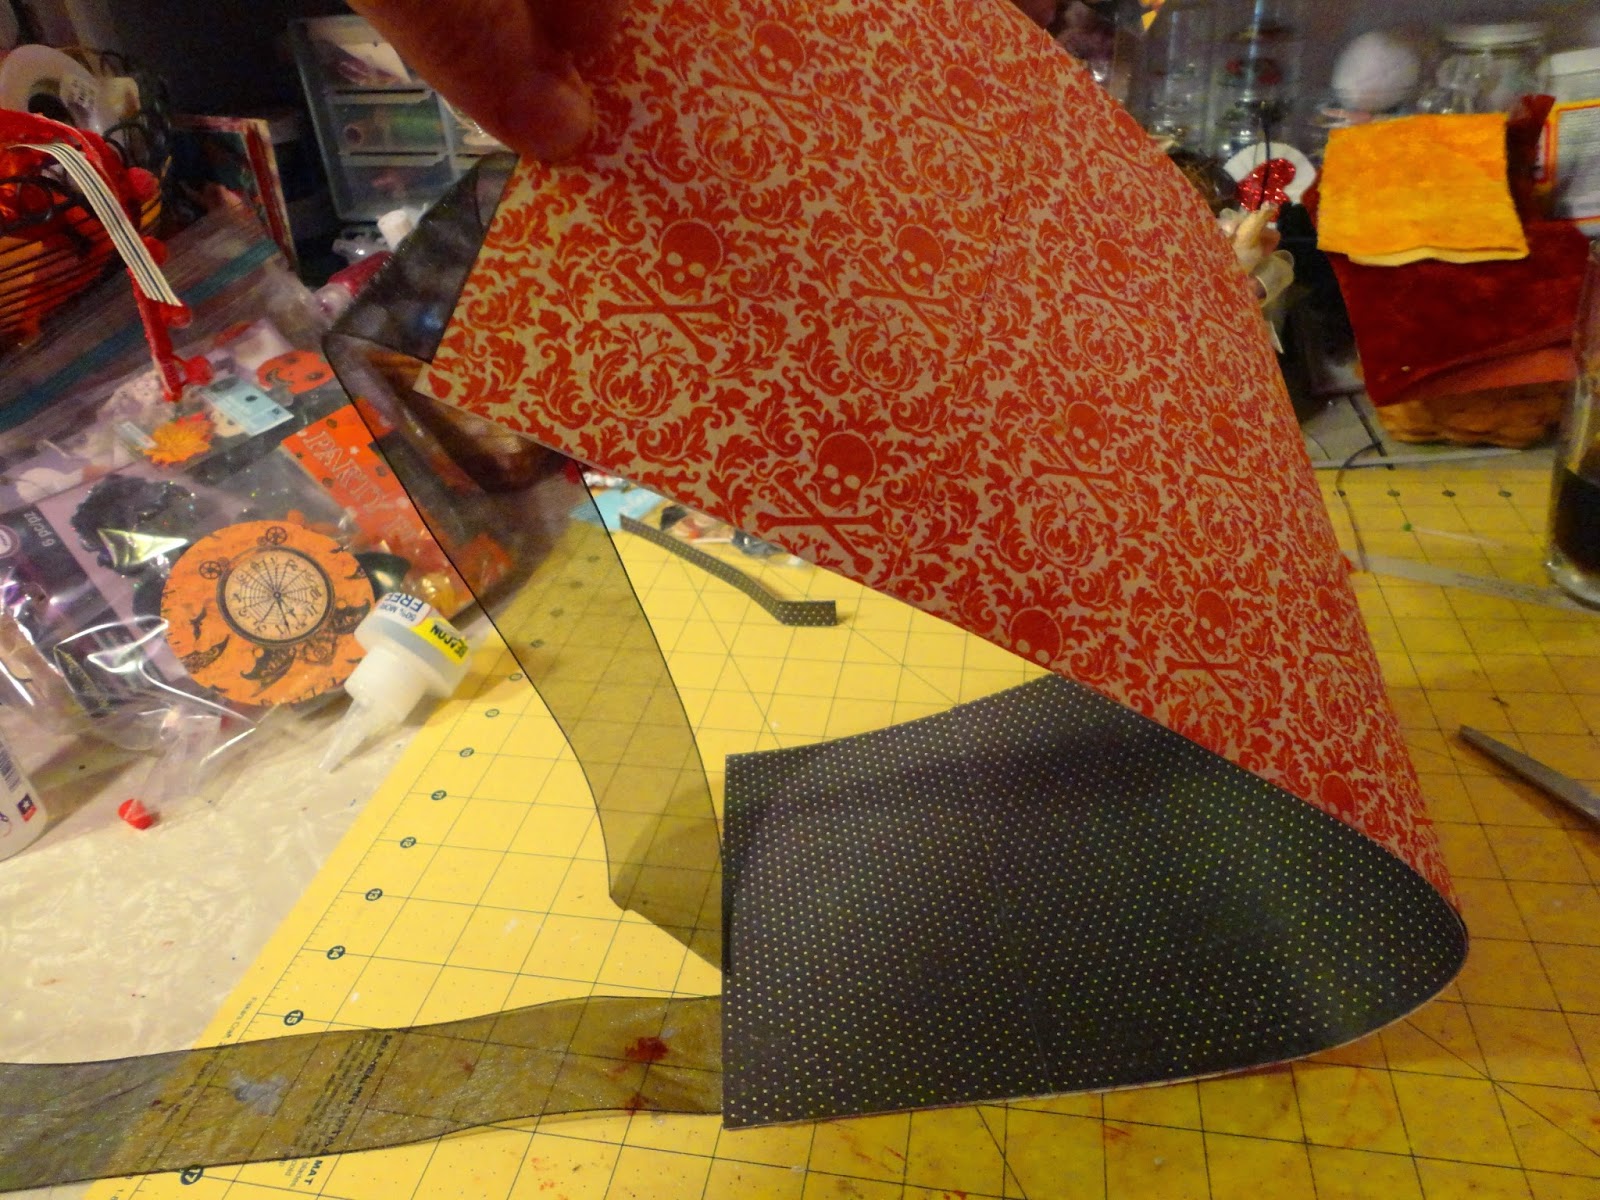
First thing, cut both pieces of scrap paper in half and then one of those halves in half again.

then glue the smaller halves, (which are really quarters now.. lol!) onto each side of the bigger piece, to make a long strip.

make sure both the front and back pieces are the same length. You can trim them to be sure.

Next make a crown pattern. I used a unfolded brown paper bag.

You can do this next part two different ways, You can precut your crown pieces using the crown pattern and then glue the the front and back together with the ribbon sandwhiched between them at the bottom, or you can glue the ribbon in, glue the pieces together and then trace and cut out the pattern.

I did it the second way.

Either way be sure to leave enough ribbon out at each end so that you will be able to try a nice bow to "close" your crown.

Next, its all about embellishing and finishing your crown. you can do what ever you want to it, but this is what I did. I used black tulle, cut into strips, scrunched up and glued onto the top back side of the crown.

this way you get a pretty little ruffle on the front!

Next, I made like a "center piece" for it. you can cut something out or used something store bought.. anything goes!

I love these crow and skull embellishments I found at micheals.

You can add as much or as little as you want to your crown. I finished off the bottom with some halloween paper garland stuff and black roses!

Then I traced along the top edge of the crown with black glittery stickles.

let it dry and then... Tah Da! all done!
Easy Peasy! simple simon! if you make one let me know and post it so I can see. this one is very simple and takes very little time, but you can get as elaborate as you want. I want to make another one out of chicken wire soon... when I get a chance.
have fun bloggy pies!
Im hanging in my craftroom all weekend.. gifts to make, bear orders to work on and fun to be had! lol!
xoxoxoxoxoxoxoxoxooxoxoxoxoxoxoxoxoxoxo
13 comments:
Love this tutorial! I'm thinking one of our skeletons needs a special crown this year. Thank you for the inspiration. Those embellishments fro Michaels are amazing! Time for another trip to the store! I've been up early finishing up 13 Halloween ornaments for a swap. I'm on a roll. I'd like to avoid the mountains of laundry as long as possible. Have an awesome crafting weekend!
Great job Viv. You put a lot of work into that. Blessings, xoxo,Susie
I LOVE it, Vivian! Thanks for sharing your tutorial. For those of us that are drawing challenged, any ideas for drawing out the crown? I guess there might be a pattern on Pinterest to follow. So I guess I answered my own question!
Love our blog all decked out for Halloween, too! : )
So darling Viv, that is the cutest, love it! Adore the embellishments you found. I usually get to Michaels at the point where all the Halloween stuff has mostly been sold and the remaining is so sad and picked over looking - but I went last weekend and I think it's the first time ever I saw complete displays of Halloweenie fun WAHOO!
Happy crafting!
That is too darn cute:) Have a blessed and creative weekend, HUGS!
You are so creative Viv. I love your creations and seeing what you are making. I hope you have a great week.
xo Danielle
Thank you for doing the how to for me and the rest of us!!! You are just too talented. I still think you should do a Halloween tour of your home!!! I would pay money to see it all decorated for Halloween! Have a wonderful week!
Hugs,
Lynn and the wienee ranch crew
FUN !!!!! I am thinking I need to go get an orange 4ft tree at a shop here in town.....:)
What a cute tutorial! Love it! :)
How fun!! Love your pretty crown, its so creative too! :) A chicken wire one sounds neat and interesting too!! :) Happy new week!! xo Holly
Well that's just so cool! Maggie
Thanks Vivian! I love your crown. What a great idea, I think I need to try making one. Promise to post it if I do. I've got to get to Michael's, what fun embellishments. Need some of that black stickler stuff too, lol.
Love it!! :) I bet you are shocked to see me...I know its been awhile. Hope you can stop by and say hi. How have you been??? :)
Post a Comment