PAPER TREES
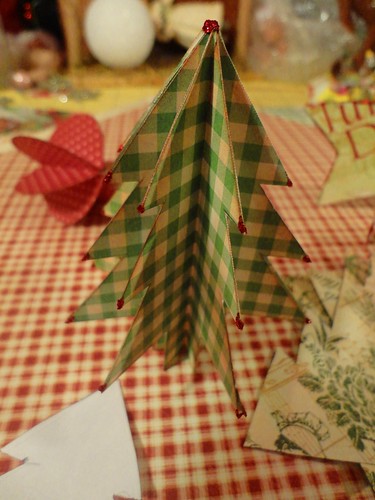
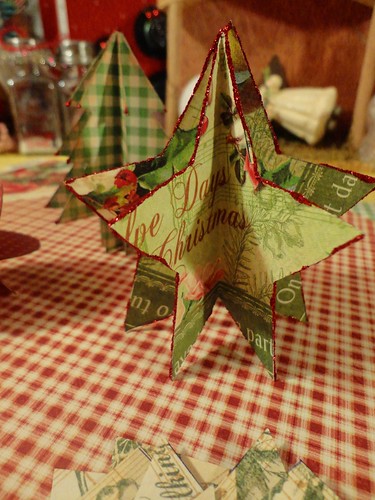
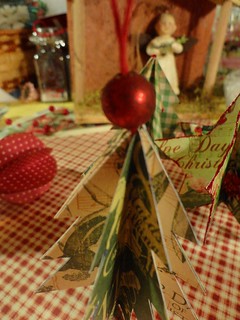
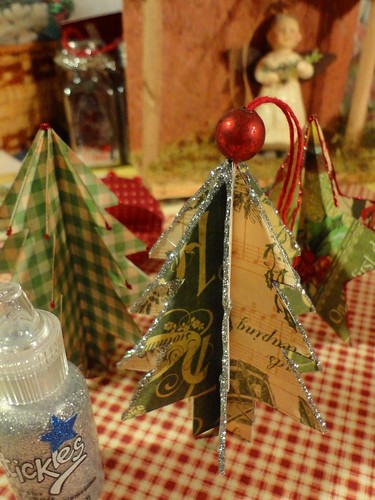
Today is day 3 of Lori's Visions of Sugarplums christmas event and my second tutorial! So I'll be showing you how to make these very simple little paper trees.. or stars.. or hearts.. or whatever shape you desire!
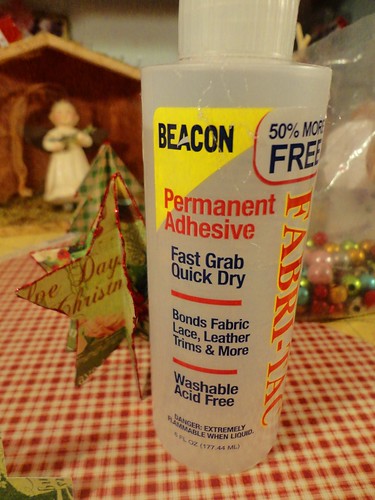
All you need is some christmasy, colorful two sided scrap book paper, some good glue, I always used fabri tac because I love it and you'll need some string a bead and some stickles in what ever color you like!
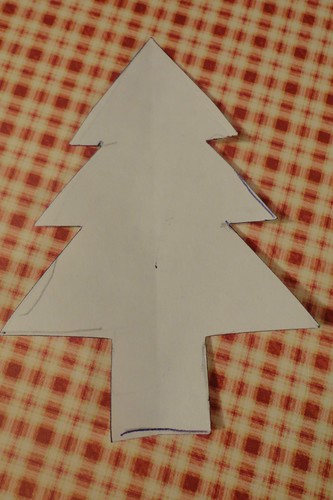
Step one.. make a pattern. I folded a piece of paper in half and drew half of my tree and then cut it out so that it would be exactly the same on both sides.
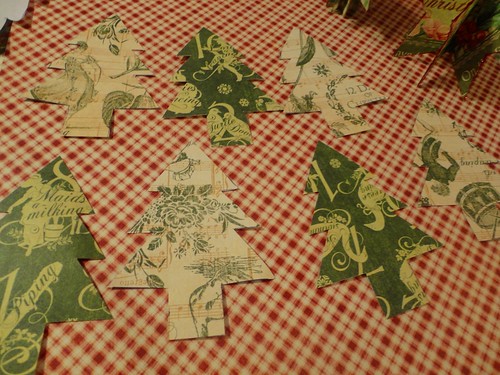
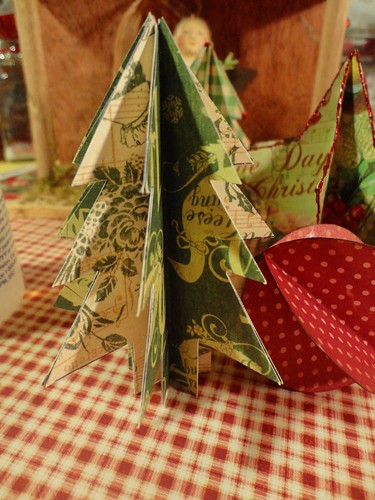
Step 2: cut out 6 to 8 pieces I like to use 8, it makes a "fuller" tree.
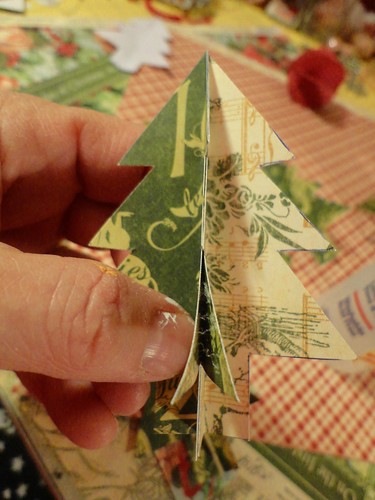
Step3: fold each piece in half. fold half of them one way then the other half the other way.
(I love this glue)
step 4, glue the half sides together,
alternating the sides of each piece
alternating the sides of each piece
when you get to the last piece glue down both sides.
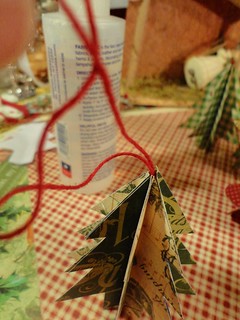
step 5: add a string for hanging and top with a little glued on bead! You don't have to make these into ornaments, you could make a whole garland of these.. you could alternate trees and stars for a garland. The trees are also free standing and could be used in a little vignette.
step 6.. trace over the edges of the tree with stickles and let dry!
Ta dah!
now be sure to visit the rest of the blogs that are participating to see what they're making today! and every comment you leave on any of the blogs is entered into the drawings for the daily prizes!
have a happy day my friends!
Maria - http://asimplefive.blogspot.com/
Beatriz - http://iralamija.blogspot.com/
Ignacio - http://nicecranedesigns.blogspot.com/
Giveaways: $10 gift certificate - Paper Sweeties - http://www.papersweeties.com/
1 set of choice - Moonlighting by Mary -http://www.etsy.com/shop/MoonlightingByMary
1 set of choice - Iralamija http://www.etsy.com/shop/iralamijashop
1 digital set of choice - Vintage Remix - https://www.etsy.com/shop/TheVintageRemix
$20 gift certificate - Nicecrane Designs - http://www.nicecranedesigns.com
have fun!


19 comments:
Thank you! I can't wait to get that glue and make something pretty:) Have a blessed day dear friend, HUGS!
I know how much work gets put into tutorials. Love these. I'm definitely wishing I can could stay home and play with glue and glitter today. Merry Christmas, dear Viv!
These are adorable! I can't wait to try them! Maggie/Maggie's Lil' Fixins
These are adorable! I can't wait to try them! Maggie/Maggie's Lil' Fixins
Viv, I wish I had your ideas when my g.daughter was here. I'll have to remember. So cute and fun. xoxo,Susie
I have MISSED popping in here mornings to see what you are up to, you one woman wonder, you! Those are so cute, Viv! I love that glue, too, and found it through your blog last year. SOMEONE left the cap off and it oozed out ALL OVER the inside of my paper storage container. Yeah -that was cute! Anyway- I love these- it will be fun to try them with the kids...maybe----xo Diana
Very pretty, I think I will give this a try. Thank you for the tutorial, it looks easy to follow!
Thank you so much for the tutorial! Now I can't wait to go home and make trees and stars. :)
I am totally making some of these! Gorgeous!!!
Wow, thanks for sharing - more lovely tree ideas...I so love Christmas trees.
Toni xx
Wonderful! Love these! TFS
Thanks for the instructions and the really adorable projects. I think I will be able to make these.
Thanks for the Christmas Inspiration!
Enjoy your Holiday!
These are precious! I might make some with my little one!
Love these 3-D trees and stars! Thanks for the glue tip!
Oh these are too
cute! I'm going to
scraplift them for
lady's at work!
Carla from Utah
these are so cute! We have been trying to think of easy, inexpensive (non breakable) ornaments for the tree, we will have to make some of these :)
Hi Viv,
I've done something like this with my Girl Scout Troop using a snowman shape. I see a whole winter scene in my future.
Chris =]
Your trees and stars are delightful. Thanks for also showing us the glue bottle as I will give this one a try!
Love!!
Post a Comment